
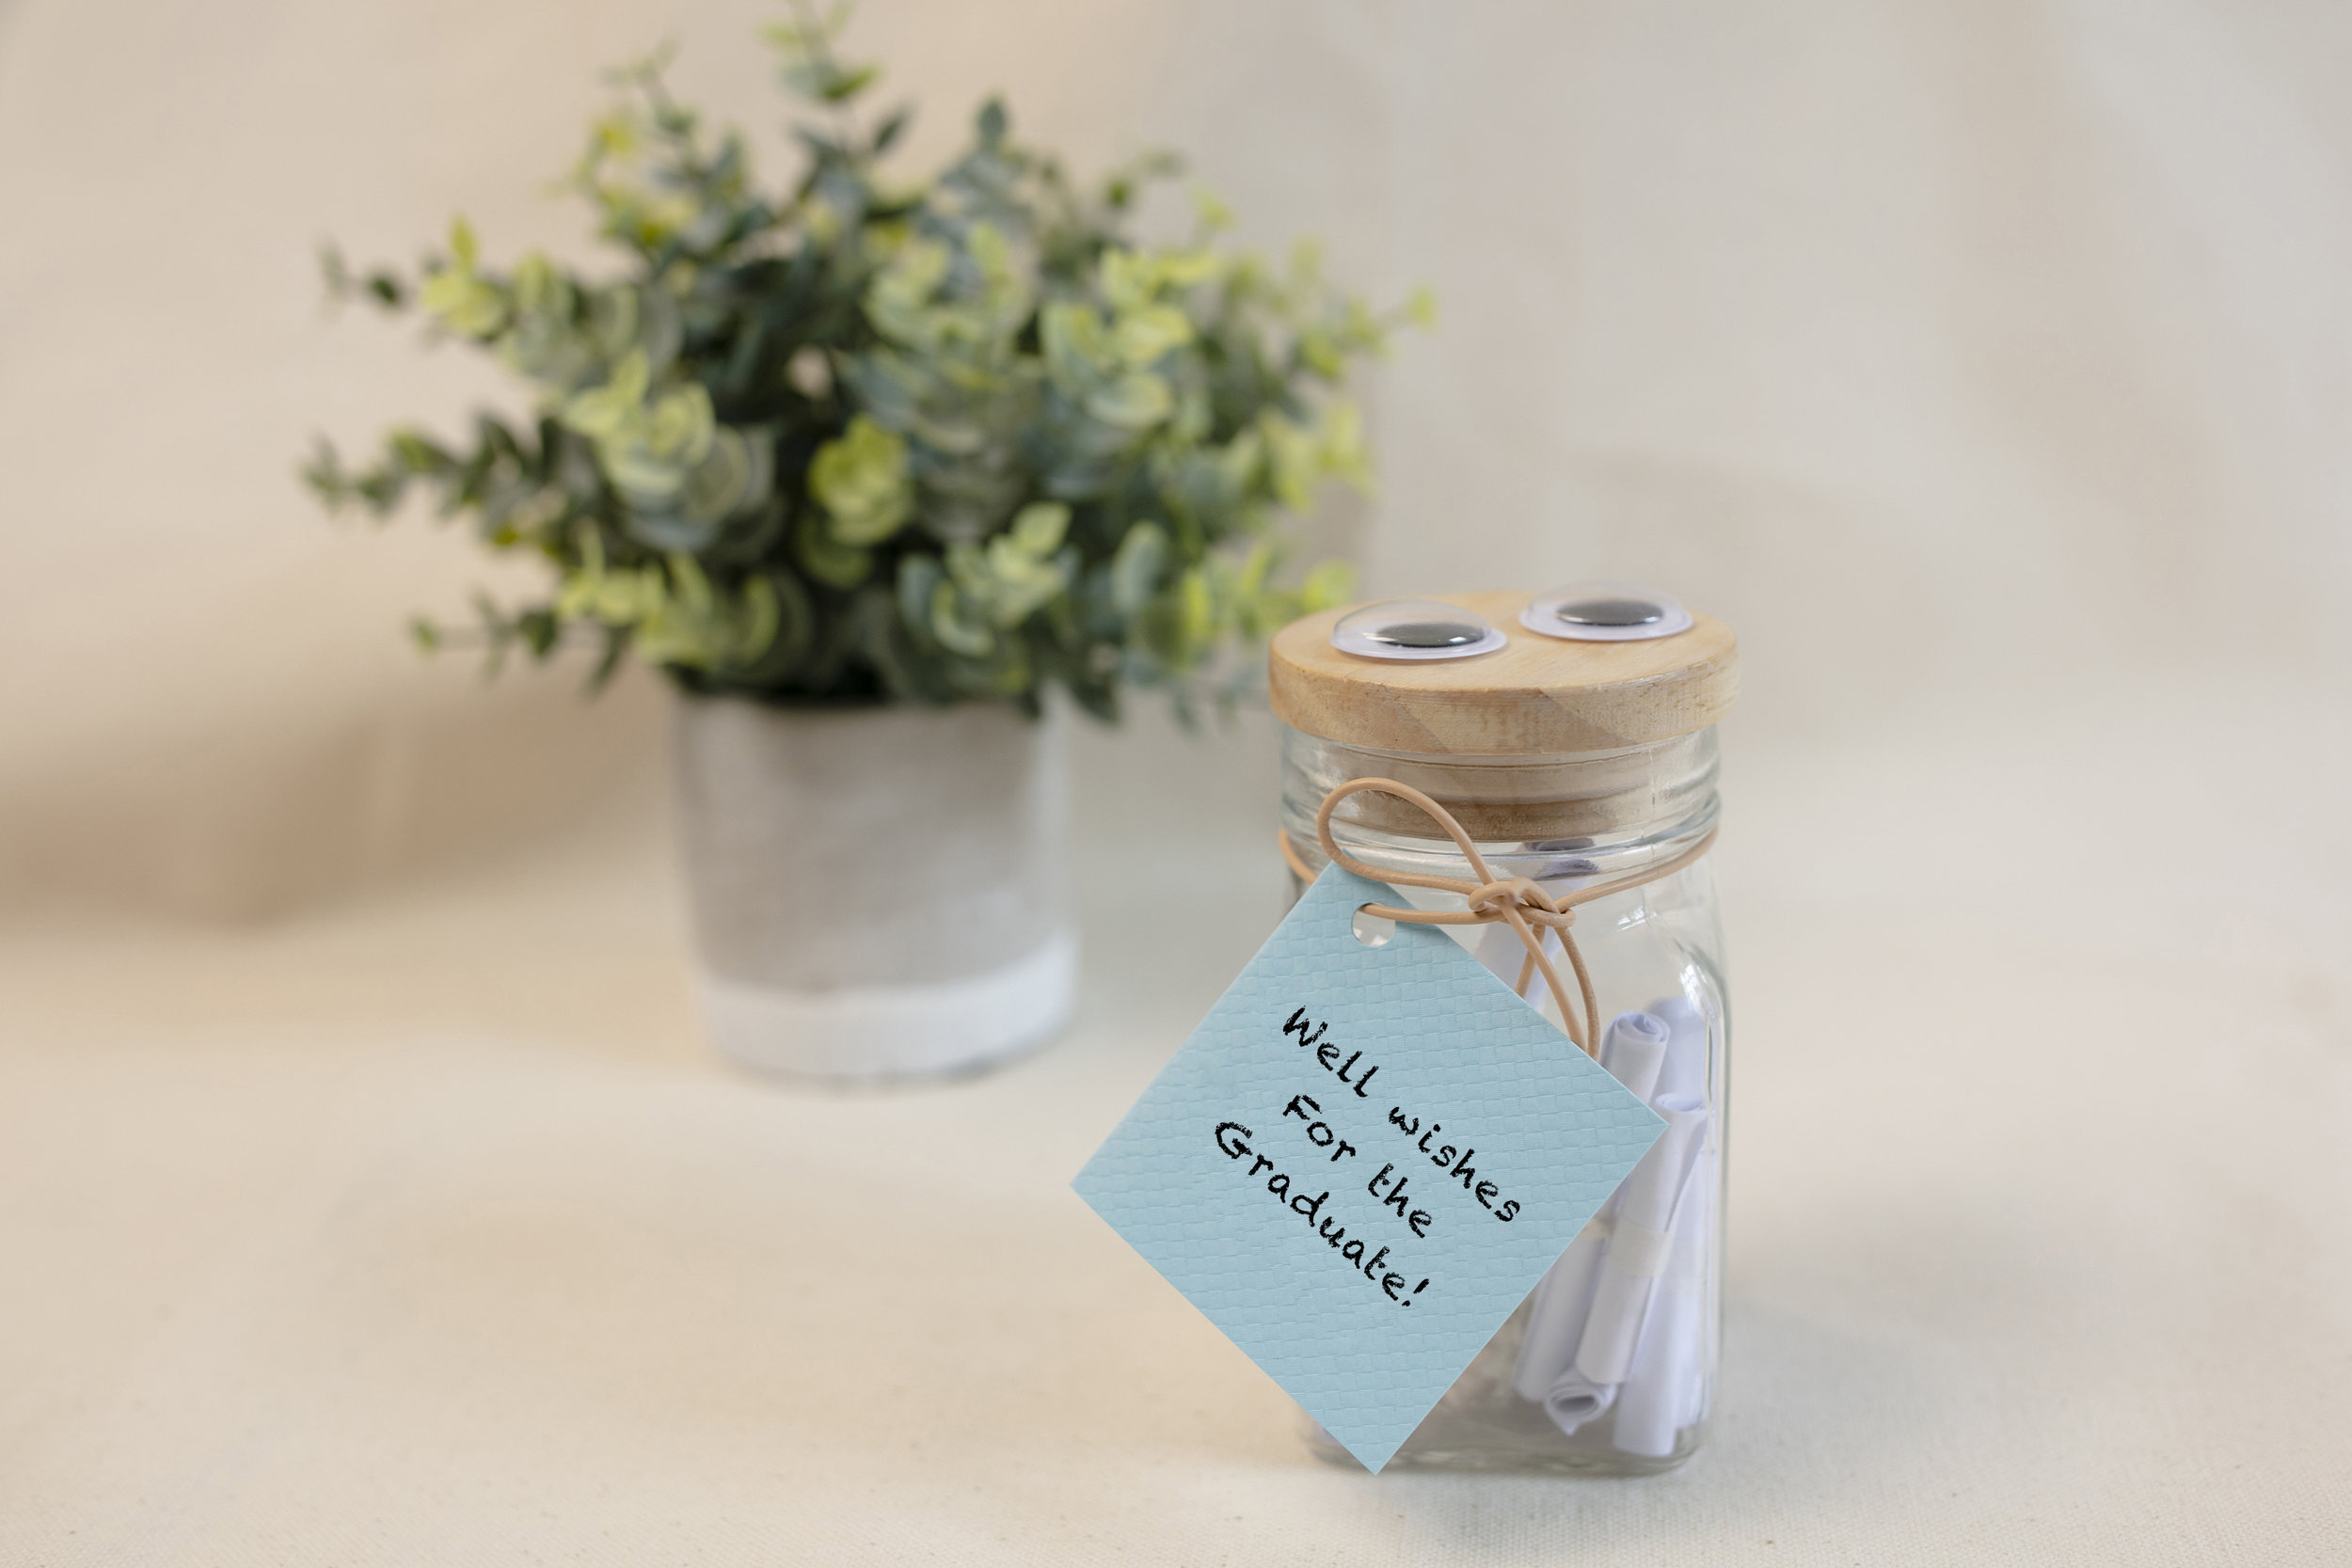
ConGRADulations Project
The school year is coming to an end, but before we get into the full swing of summer let’s round off the graduation season with a quick, easy, and meaningful DIY project that is a great alternative to a regular card: make a jar filled with encouraging notes, rolled up like tiny little diplomas, to conGRADulate the special graduate!
This project works especially well as an alternative to a “group card”— instead of having many people passing around one card to sign (I remember doing this a lot for the graduations of friends from my college fellowship), everyone can write a note of encouragement and the jar will be filled up in no time!
Even though it’s been some time since my own graduation, I still remember feeling the strange combination of excitement, relief, apprehension, and fear. Graduation is a huge milestone but there was also now a whole new, uncertain path before me and that was a scary thing!
A simple congratulations, good job, or I’m so proud of you can make a difference! Facing uncertainty is never easy, but let’s face it with our eyes fixed on Jesus— He will lead the way.
“Trust in the LORD with all your heart, and lean not on your own understanding; in all your ways acknowledge Him, and He will make your paths straight.” Proverbs 3:5-6
HOW LONG IT TAKES
~10-25 mins
WHAT YOU NEED
One glass jar (available at the dollar tree, 99 cents stores, Target, Michaels or any craft store)
Scissors
Pen
Paper
Cardstock
Hole puncher
Kitchen twine to tie each note
Decorative ribbon to tie around the jar
Step ONE:
Gather all the materials (list above) and write some encouraging verses and notes for the graduate.

Step TWO:
Cut the verses and encouraging notes into long strips. If you are doing this project with a group, you can cut the strips of paper first and have each person write their own note.

Step THREE:
Roll up the strips of paper and tie each one with twine. Don’t they look like cute little diplomas?

Step FOUR:
Cut a 2.5” x 5” rectangle from the cardstock and fold in half to form a card. Don’t forget to personalize the card! :)
Step FIVE:
Make a hole in the corner of the card and use your decorative ribbon (we used a leather cord) to tie the card around the top of the jar.

Step SIX:
Fill the jar with all the rolled up notes.


